Ever wondered how to make your OMRON PLC communicate with your computer? Or perhaps, you’ve found yourself lost in a sea of technical jargon, feeling overwhelmed by the maze of engineering technology? What if I told you there was a way to easily connect your OMRON CP1L-E PLC using the built-in Ethernet port? And what if I told you that this guide was specifically designed with the beginner in mind, a person who has no background in engineering technology?
The CP1L-E does not have its own communication serial port, how can the PLC communicate with the PC by wire? The first step in setting up an Omron PLC is to obtain the correct software: Omron’s CX-programmer (hereinafter use CX-P instead) or the CX-ONE software integration package. And CX-P software must be at version 9.4 and above to operate the PLC. CX-P is part of the CX-ONE software suite, which is a comprehensive tool covering PLC programming, setup and management of this process. If installed using the CX-ONE software integration package, version 4.25 or higher is required.
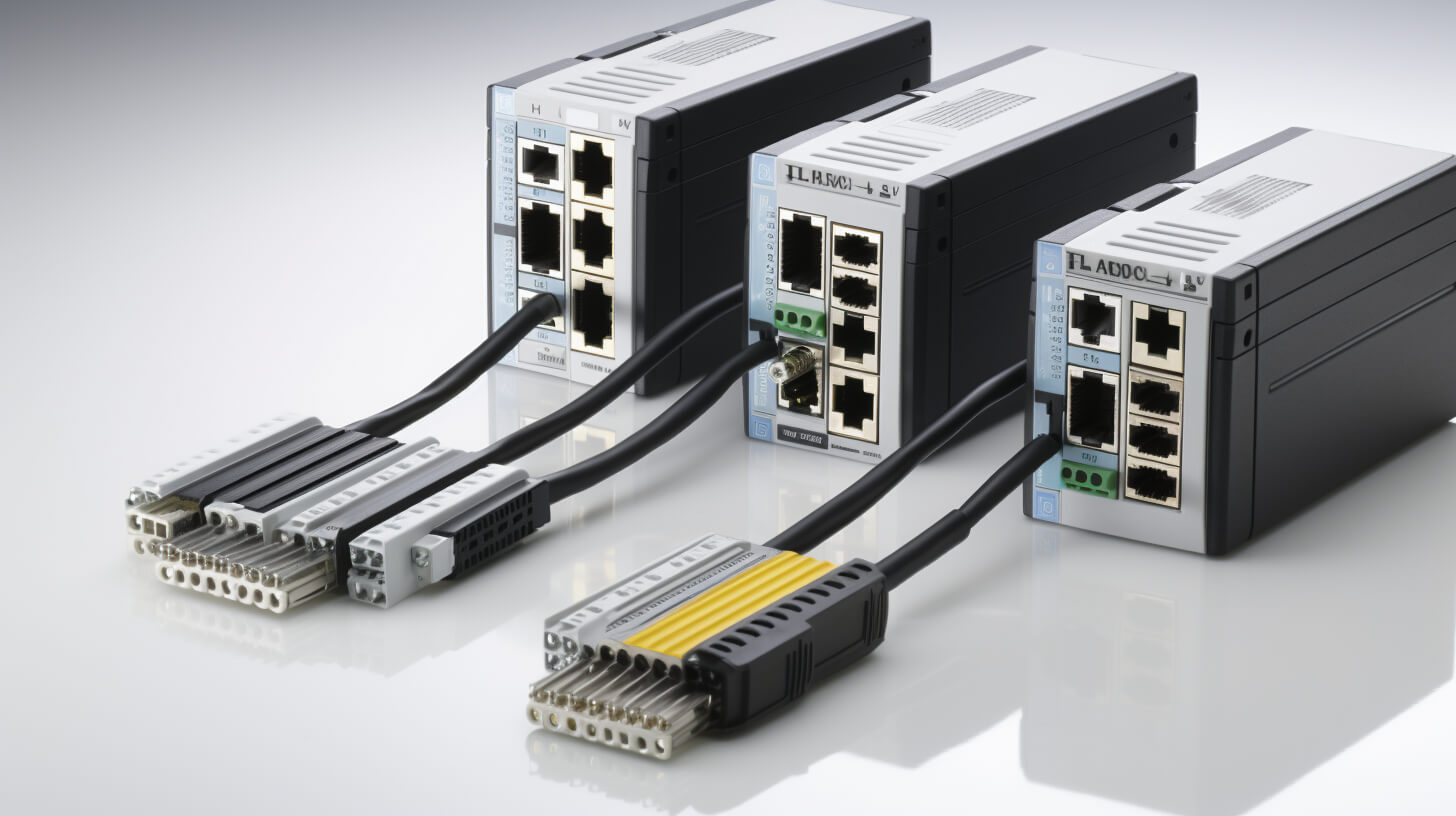
There are two ways to connect the CP1L-E with Ethernet: one is to connect directly with an Ethernet cable, and the other is to connect with a HUB.
Direct connection via network cable
Tools needed: Ethernet cable, CX-Programmer as mentioned above (version 9.4 and above)
Operation method:
- Connect the computer to the PLC through the Ethernet cable.
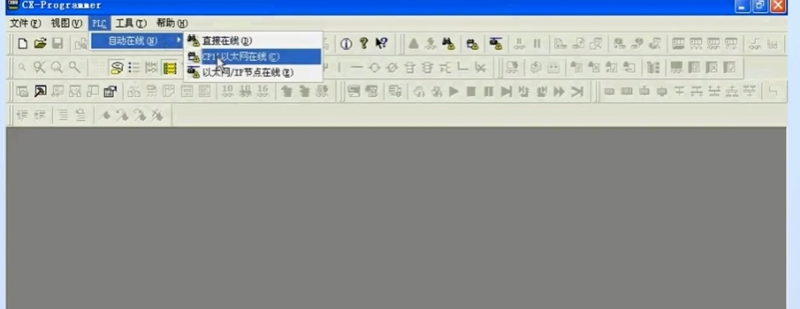
- Open CX-P software, click PLC — Auto Online —CP1L Ethernet Online— Direct Connection, the computer pop-up prompt “Do you need to upload the program” — select “Yes”. When you see the “Upload successful” prompt, it means the CP1L-E has been connected successfully.
Connect to PLC through HUB
HUB connectivity means adding a HUB in the middle of PLC and PC, through which a PC can be connected to multiple PLCs via Ethernet at the same time.
The default IP address of the OMRON PLC is 192.158.250.01, so the IP address of the computer must also be set in the same network segment as 192.158.250.
Operation method:
- Connects the PC to the PLC via the HUB.
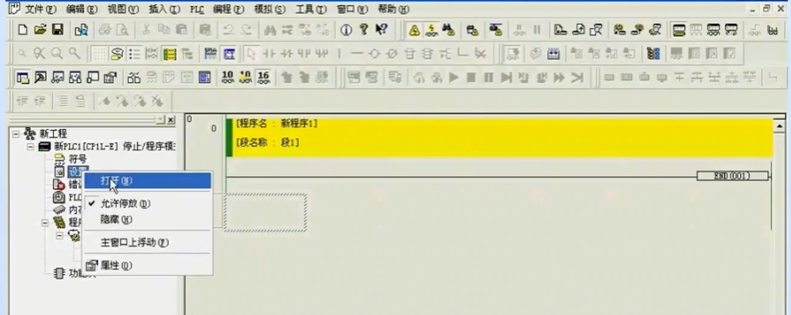
- Open CX-P software, click “PLC” — operation mode — programming, the pop-up window prompts “whether to cut to programming mode? ” Select “Yes”.
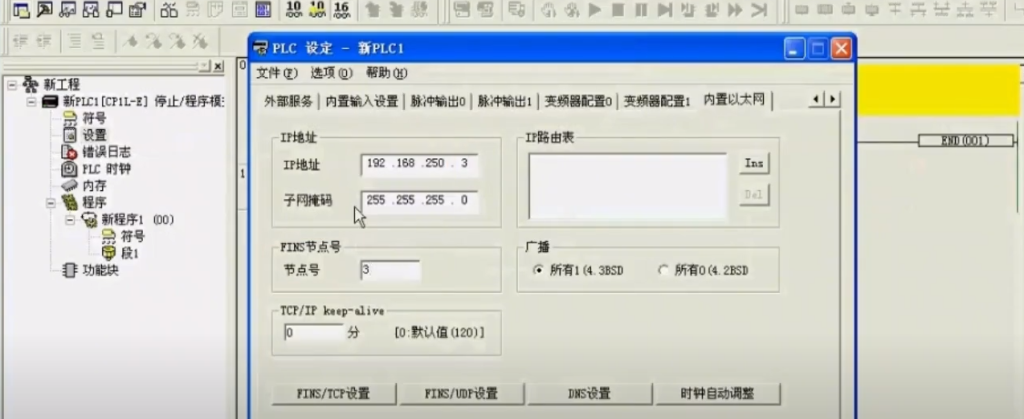
- Click Settings-Open-Built-in Ethernet, set the IP address, subnet mask and node number of the PLC, we set the IP address of the PLC to 192.168.250.3 and the last number 3 is the node number, the upper and lower should be consistent.
4. Click on “Options” – “Transfer to PLC” – pop-up prompt “Sure you want to download settings to PLC? ” Select “Yes”

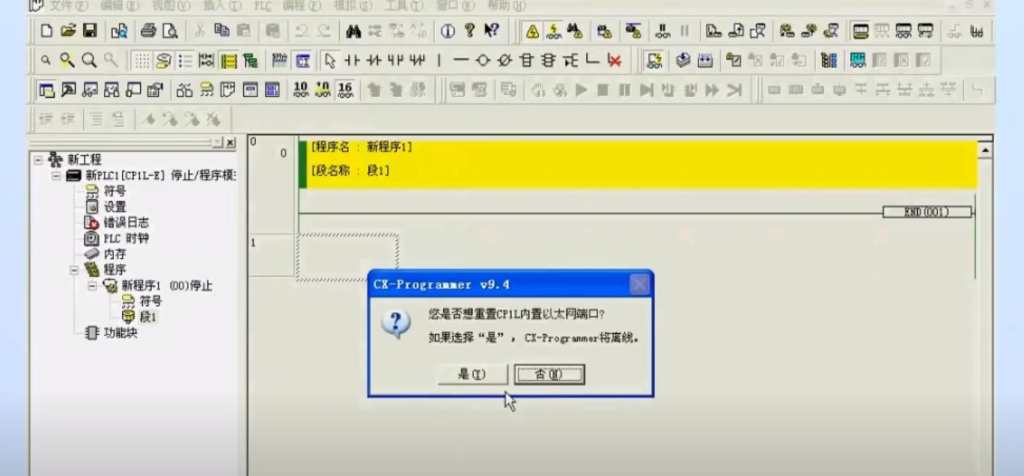
5. Click PLC – Edit – Reset CP1L Built-in Ethernet Port – pop-up window “Do you need to reset CP1L Built-in Ethernet Port” – select Yes
6. Click “New PLC (CP1L-E) Offline” on the left – Modify – Select Ethernet (FINS/TCP) as the network type – Set – Drive – Select “Ethernet-HUB Connection” – Click “Browse” – Select the PLC with the IP address you have just set – Click OK

7. Select PLC – Work online – pop-up window “Connecting to PLC, continue or not” – select ‘Yes’, connection successful.
Conclusion
Connecting to an Omron PLC doesn’t have to be a complex process. With the right equipment, proper software, and a careful approach, you can establish a successful connection. Remember, quality and efficiency are key components of any successful project, and understanding how to properly connect and use your Omron PLC is a significant step toward achieving your project goals.